


For hosting a website on IIS, follow these steps:
IIS Installation:
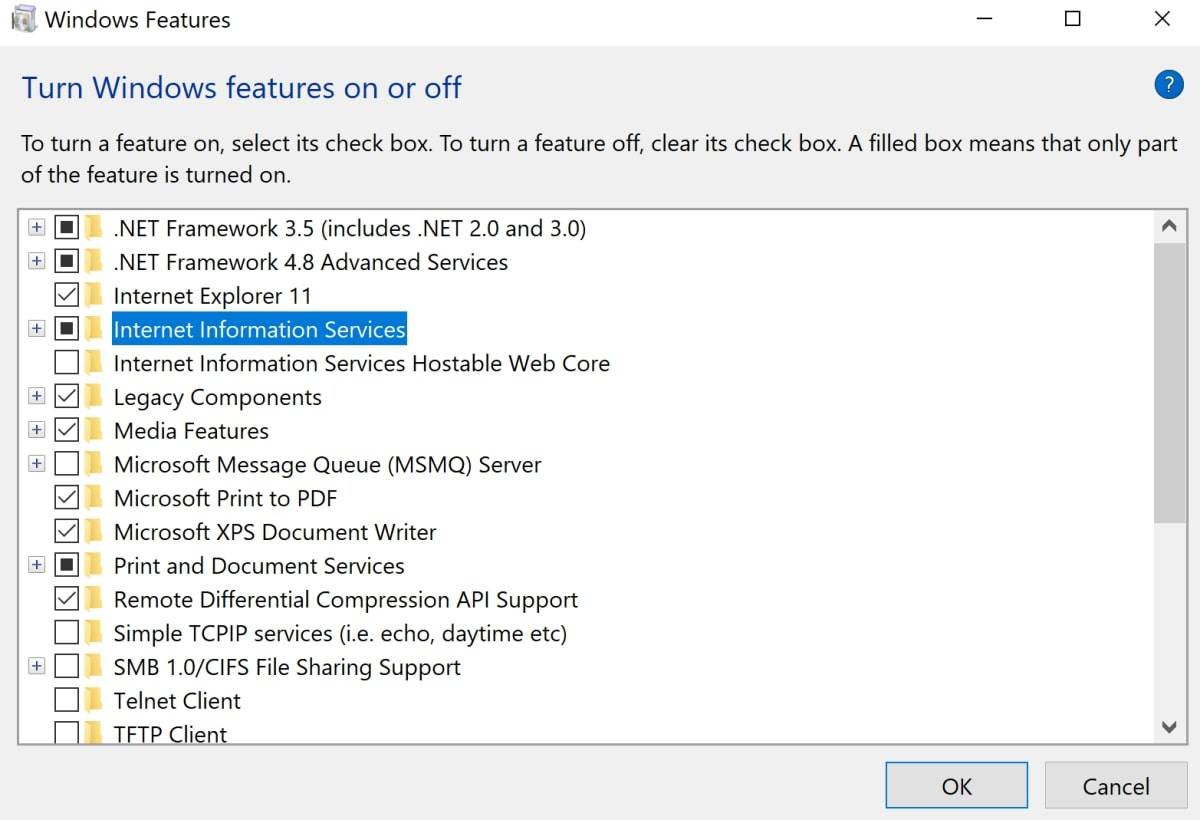
IIS is a web server that is used to host a website on the server. IIS stands for Internet Information Services.
Search for Turn Windows Features On and Off using the search bar and select Internet Information Services.
- Open Internet Information Services and Enable ASP.NET Features on IIS.

Expand the Application Development Features that enable the ASP.NET application features such as:
.NET Extensibility
ASP
CGI
ISAPI Extensions
ISAPI Filters
Server-Side Includes.
After enabling the ASP.NET features on IIS hit Ok. The IIS server Manager is successfully enabled in the start control list.
Download VS Code Ultimate for writing a code and .NET Core hosting bundle
Setup:
After downloading
- To begin, open Visual Studio Code and select the ASP.NET Core Empty Project template and click next

- Set up your project by providing its name and location, and then proceed to the next step by clicking on "next".

- Keep everything unchanged and select the "create" option.

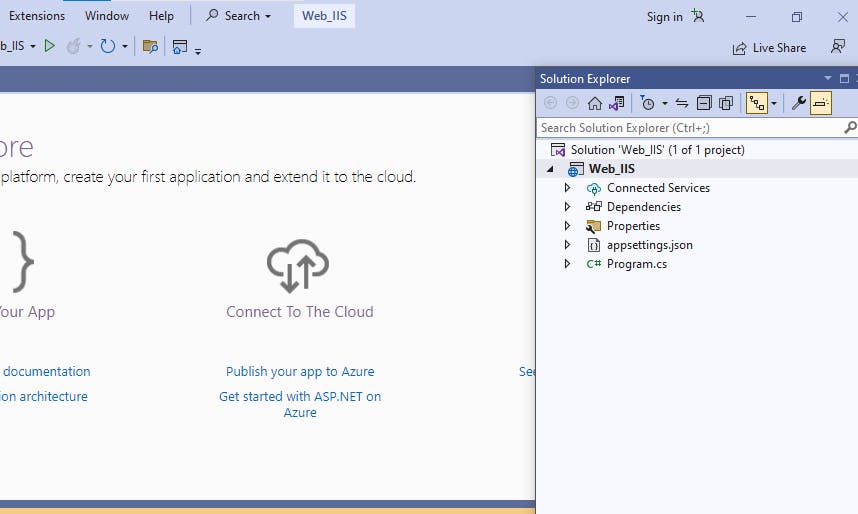
- On the right-hand side of the VS Code dashboard, the code file is visible.

- Click the play button, and the web page for this application will be displayed.

- Now you can see the web page

- Next, click with the right mouse button on the right-hand section of Web_IIS.
- Click on Publish

- Select the folder selection and click on next

- Provide the path as per your perspective and select the finish option.

Hosting ASP.NET site:
- Start the IIS server, in that click sites, right-click on site, and then choose to add web site
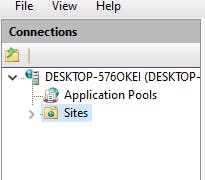
- Click on Add website

- Please specify the name of the site we assigned for the project, provide a path to the publish folder, indicate the hostname as an ASP, and then click on ok

- Navigate this directory "C:\Windows\System32\drivers\etc" and locate the file named "hosts". Open the file as an administrator and add the following line at the bottom: "127.0.0.1 ASP". as we have done in the previous blog
- On the left side of the screen, there is an ASP site option that you can select. Once you choose it, look to the middle of the right side of the screen and click on "browse asp on 80".

1. It is now evident that an ASP.NET website has been hosted on the IIS server.

Thanks for reading 🧡 and Stay tuned for more content.
Happy Learning 😊😊